Posted on

Short Field Take off and Landing in a Husky

Have you ever seen a shorter ground roll than the  one in this video?  No doubt the pilot is experiencing heavy winds, you can see it in his approach that the winds are quite gusty causing one of his wings to drop.

This type of plane is a very popular backcountry plane with great short field and soft field operations capabilities. Check out how little runway the pilot uses in this video, which looks like no more than 100 feet.

It’s likely so windy, that he probably needs to keep the brakes on just to keep from lifting off straight from the ground.  I’m not sure at the exact model of this Aviat Husky used in the video, but the Husky A-1C has a landing speed of approximately 50 knots.

Take-off distance with full flaps is about 200 feet, and landing distance is 350 feet.  He is clearly using much less than that on takeoff and landing, and he isn’t using any flaps.  So, it is obviously the wind that is helping him out with his short take-off and landing roll.

If you would like to see why wind allows a shorter takeoff and landing roll, check out our article on wind and performance and the video of a Super cub landing and taking off on a mountain ridge. See how heavy winds help a kit plane land and take off from a cargo ship.  Also, see what would likely happen to this plane had it been left unmanned and not tied down.

Posted on

Wake turbulence

Have you seen the movie Argo?

If you have seen the movie Argo, and are a pilot, you know how unrealistic the scene is with the fleeing airliner near the end of the movie.  Though Hollywood pulls some highly impossible stunts, this one is really over the top in terms of how grossly impossible it is, and I’m sure I’m not the only one who noticed.  If you fly you probably picked up on it right away.  Cars chasing a 747 on the take-off roll? Right behind those engines which are operating at maximum thrust? They should be blasted into the taxiways.

Chasing a departing 747 in a Jeep is just a bad idea.

Jet scene from Argo. Image courtesy of  ropeofsilicon.com
Jet scene from Argo. Image courtesy of ropeofsilicon.com

At the end of the movie, a fleeing 747 airliner is taking off rescuing U.S. diplomats during the Iran hostage crisis in 1979.  Once officials realized that these people were on the plane, they proceeded to chase after the plane while the plane was already on the takeoff roll. On the take off roll planes are at maximum power settings and the engines are pushing out a substantial amount of air. Maximum thrust in fact, is in excess of 50,000 lbs.

In a 747 aircraft, such as the one involved in the movie rescue has a take-off speed of about 155-160 knots (depending on load, field elevation, altimeter setting and temperature)  – that’s 290 km/h and 184 miles/h.  The first inaccuracy is that these cars are actually keeping up with the plane to the point it rotates.  Old Jeeps in the 70’s keeping those speeds? Very interesting.

The second problem with this depiction is the creation of wing-tip vortices or wake turbulence.  When a plane is accelerating down the runway, the engines are at full power,  set for maximum thrust.   As speed increases, air passes over the body of the aircraft faster and faster. Due to the cambered shape of the wing,  the shape of the wing causes the air on top of the wing to travel faster  than the air at the bottom of the wing. Because of Newton’s third law, the faster speed causes an area of low pressure at the top of the wing, and an area of higher pressure at the top of the wing.  This causes lift.

Airflow. Image from From the Ground Up, page 21.

Also as air travels over the wing, it travels downwards as well as rearwards, causing downwash. Air traveling at the bottom of the wing is also deflected downward by the bottom of the wing.   This also contributes to creating lift.

Since the decreased pressure at the top of the wing is less than the atmospheric pressure around it, air over the top is deflected inward; air on the bottom of the wing is greater than the pressure of the air around it, hence it is deflected outward and curls upward over the wing tip. 

The two airflows unite at the trailing edge of the wing, creating eddies and vortices that unite into one large eddy at each wing tip, called wingtip vortices.

The heavier the airplane, the greater the span loading on the wing, the more air will be displaced downwards and the greater vortex will be generated.  The vortex created from a  Cessna 172 will be substantially smaller than one from a 747.  Anything caught in the path of the vortex will tend to roll with that vortex.

Vortices are a by product of lift. Image from Nature.com

Since vortices are a by product of lift, they are only produced when the aircraft is in flight. Hence when the 747 jet takes off, it will start producing these vortices naturally.  Anything that is in the path of these vortices will be rolled – so if those vehicles in the movie were standing in the path of the vortices they should have ended up flying in all directions.

This is why many airplanes are now equipped with winglets – these tabs at the end of the wing actually prevent the two airflows from uniting, creating a barrier and preventing vortices from forming. Because vortices cause drag, preventing them from forming reduces drag and causes the airplane to use less fuel.

It is always very interesting to see how flying and airplanes are improperly depicted in movies for the sake of entertainment value.  Something to think about.


Posted on 1 Comment

Slow Flight – more detail on slow flight techniques

I talked with my instructor last night and he brought up a few very good points about slow flight.

In my post about slow flight in the Cessna 172 I wrote that there are five signs that we can identify we are in slow flight;

  1. Stall horn cutting in and out
  2. low airspeed
  3. high nose attitude
  4. high power settings
  5. sloppy aileron control

But we can extend these concepts to some of the other flight surfaces.  What happens to the rudder and elevator? We know that because of a nose high attitude we are pushing the boundary layer of laminar and turbulent airflow further up the wings – hence the wings receive less smooth, laminar airflow and are subject to buffeting from the turbulent air.  This renders the ailerons sluggish and slow.

But how does this effect the tail of the aircraft?

Torque and Asymmetric Thrust

Torque causes left turning tendency. Image Courtesy of flightlearnings.com

Recall that because of torque the aircraft wants to spin counterclockwise. This is because the propeller spins clockwise (when we are in the cockpit) and the airplane is a gyroscope – this tendency is explained by Newton’s third law.  Most aircraft are designed in a way to anticipate this, so in level flight, for example, many are designed to give more lift to the wing that is being forced downward. Torque means that the plane has a left turning tendency because more force is applied to left wing than the other. But this is only for level flight. When the aircraft is out of level flight, such as a take-off attitude or nose high attitude that we experience in slow flight, the aircraft will want to turn to the left. Hence, this is another effect on controls of slow flight.

Asymmetric thrust also means that the descending blade has a greater angle of attack than the ascending blade.  This gives more lift to the right side of the propeller (as seen from the pilots perspective) and a yaw to the left.  This happens during high power settings and in high angles of attack – just like in slow flight.  In level flight, both propeller blades meet the relative airflow equally (again, the thrust issue is anticipated in the design of the propeller) and they produce equal thrust, and no left yaw.

In addition, we also talked about why we need to learn slow flight. We are not actually in slow flight on approach and takeoff, but we are very close. We do not want to be in slow flight during these maneuvers, and want to be able to recognize when we are in too close. The airplane is no fun in slow flight – the ailerons are sluggish, the nose is high so our visibility is restricted, the engine is at high power settings and very loud. So the whole point of learning about slow flight is to avoid it.  It is not a comfortable flying experience.  Yesterday I learned how to do a slow flight with almost full power settings and full flaps. It was awkward flying it in this configuration.

So, another way we know we are in slow flight is due to (6) left yaw tendencies requiring use of right rudder to correct. This will be the sixth way we can identify we are in slow flight.

Posted on 1 Comment

Short field landing

Short field landing and takeoff procedure explained

At a certain point, your lessons will be about precision flying after you know the basics.  Now my lessons are about more precise flying, not only just about making it down to the ground safely.  Recently I was practicing to aim to land at a particular spot on the runway, using different flap configurations and no flaps.  This was to get used to being precise and prepare for the short field landing technique.

The other day I learned the short field landing method. There are two kinds of short field procedures, with an obstacle (we usually use a 50 foot obstacle) and with no obstacle.  We did the landing without obstacle and next we will do with obstacle, as that is more advanced.   The non-obstacle technique assumes that the runway is clear of obstacles (such as trees or power lines) so we don’t have to worry about clearing anything on our approach or take off.

The short field landing technique is a lot of fun to learn and practice.  It is a specialty procedure that comes in handy when landing at an airport with an unknown runway length or when there are concerns about usable runway length.

We want to plan to use as little runway surface as possible to both take off and land. So on the take off, we line up “on the button” meaning as close to the runway edge as possible.

Short field takeoff

For the Cessna 172, and our particular model, and at Springbank airport, we then follow this takeoff procedure:

  1. Apply full brake
  2. Flaps 10 degrees
  3. Full power
  4. Lean the fuel mixture (check), then mixture full rich
  5. Confirm engine gauges in the green
  6. Release brakes

Once the aircraft starts to roll we steer with rudder to maintain runway centre line. Depending on the aircraft model, we lift off at the recommended speed to fly in ground effect. The particular aircraft we were in, FDAJ, this speed was 46 knots.  We pull up to fly in ground effect, and then push down on the control column to keep from climbing and keep the aircraft level. We fly in ground effect a few feet off the ground without climbing until the airspeed builds to 60 knots, at which point we pitch up and climb out at 65 knots.  We let the aircraft gain 200 feet of altitude AGL. At Springbank the above sea level altitude is 3940 ft, so we wait until our altimeter shows 4140 ft.  We then check for two positive rates on the instruments: one on the vertical speed indicator (VSI) and the altimeter – that is, the VSI is above zero which means the aircraft is in a climb, and that altimeter is increasing which also means the same. We take flaps to 0 degrees, that will establish our speed to 70 knots, and we climb out normally!

Short field Landing

Then there is the landing, which is followed by a full flap approach. In our aircraft we used 30 degrees of flaps and approached at 61 knots as recommended in the aircraft’s pilot operating handbook (POH). We wanted to plan to touch down 500-600 feet after we flared so we look for appropriate runway markers for us to judge this distance. At Springbank, runways 16 and 34 have 500 foot and 1000 foot markers, so it is easy to see our targets.

After we touch down, we apply the brakes – hard. We push the nose of the aircraft down for maximum brake effectiveness and retract the flaps to decrease the lift also to really make those brakes effective.  The first few times I landed I wasn’t aggressive enough on the brakes but eventually got to pushing down on them hard enough. The application of brakes should be so hard you actually are pushed forward and can feel your seat belt.  This is because we are trying to use the minimum runway length possible.

It was really a lot of fun to learn this procedure and I’m excited to try this next time, this time I will be on my own.

Posted on

My First Solo Flight – Part 1: Fighting Fear

First solo initiation

The story leading up to my first solo out of Springbank!

Getting Ready

The time leading up to my first solo was a tense period.  It was something that took a very long time to accomplish, given the disjointed nature that my flight training has taken.   I spent 15 hours flying from Edmonton City Centre over 8 months (from April to December) and was close to joining the circuit – all my time was upper air and I didn’t concentrate on the landings – when I moved and  had to switch flight schools.  Luckily for me, my instructor Sarah moved to Calgary after me,  just dumb luck and great timing! so I didn’t have to switch instructors.

Airport Switch!

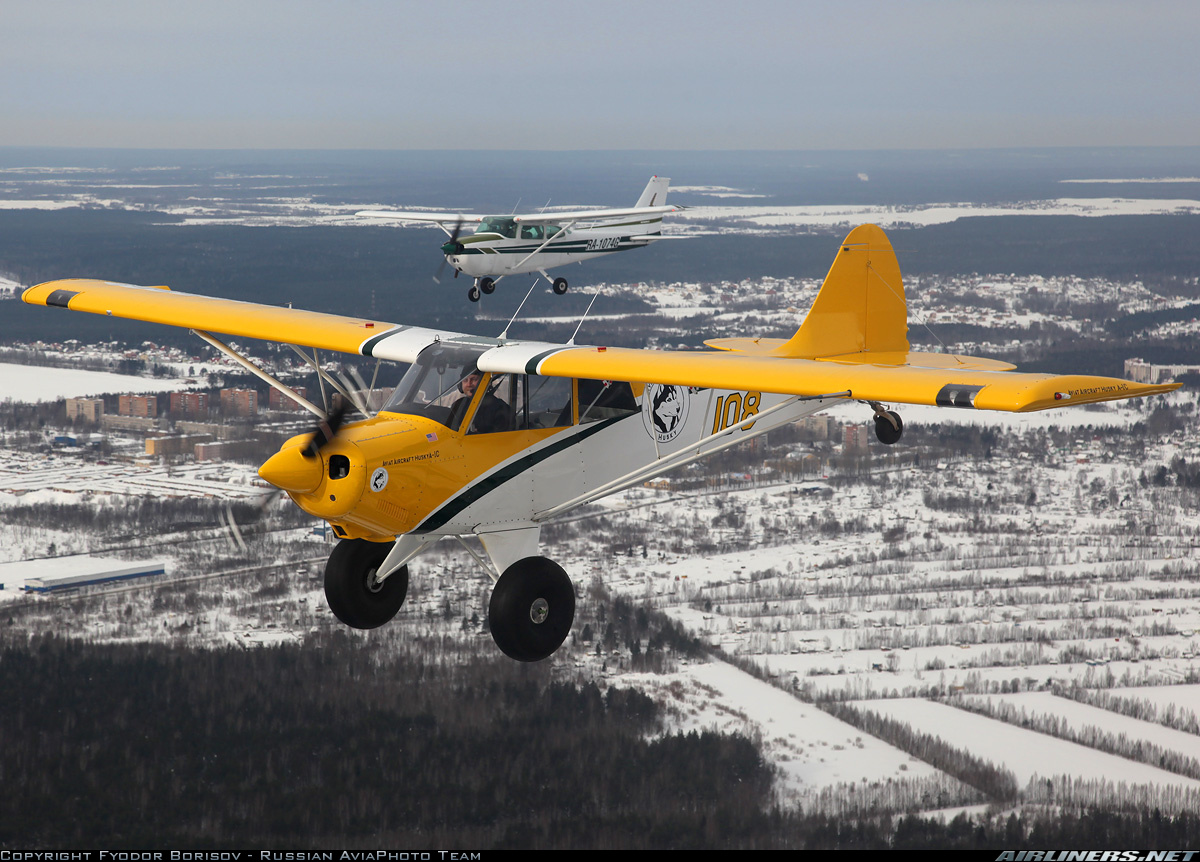
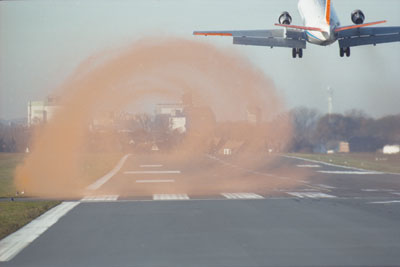
I had a long, 4 month break. Switching to Springbank, CYBW was a real shock.  It has a much different flavor than Edmonton City Centre – much busier, very congested, very overwhelming, and with worse weather, stronger, gustier winds and more upper air turbulence. It took only a few hours to finish the upper air exercises but it was a lot of work and I had to fight through a lot of fear.

I managed to accumulate another 15 hours before the next break.  I spent the rest of the summer abroad. I was nowhere near soloing, I was still very scared of flying.  The next fall was a tricky period, the weather was so terrible that fall that I had an 8 month break from flying when I finally took to the air in January.

Back in the circuit

It didn’t take terribly long to get back into it, I already accumulated 30 hours and everything came back quickly. We did a couple of lessons in upper air work and then we were back in the circuit. Sarah was impressed with how quickly I progressed when thrown into it after such a long break.  She said I would be soloing quickly. I didn’t feel comfortable, or ready, and didn’t particularly want to do it.  After about 4 or 5 lessons she said “wow, you’re doing really well – would you like me to jump out now?”   When asked how I was feeling, I told her that I had a good sense of the entire landing ‘package’, and I could physically link the full sequence of steps from takeoff to landing.

My next lesson, which was one month later was a pivotal one.  It was evening, the days were getting longer, the winds were getting light, it was almost my birthday, and it was the first time I we were flying circuits from runway 07. After takeoff, the receding sun shone in our eyes as we turned downwind on runway 07.  After three landings, Sarah was pretty happy. I did not see coming what happened next.

Are you trying to kill me?

After landing for the fourth time, Sarah grabbed control, pulled back and applied the brakes, and moved the plane off the runway.  I thought, “well, I guess we were done for the day but it didn’t seem like as many circuits as usual, and funny that she wouldn’t tell me.”   So when we stopped and I looked at her quizzingly, she said  “you’re going solo” I just about freaked out.

She gave me my licenses and documents to put in my kneeboard, and explained the procedure.  All the meanwhile I was protesting.  After a small discussion when she taxied to the tower apron, the spot where she was supposed to get out, I repeatedly went over and over that I’m too scared and in my mind I was NOT going alone that day!  It took awhile to convince her, because she was adamant that I was ready. It really felt like she knew something that I didn’t, and I should’ve trusted that, but I was so uncomfortable.  So she finally accepted my protests and we taxied back to the school.  WITH my tail between my legs, naturally, and I have regret it ever since. Because it didn’t get any easier and still had to get over that fear. It is something that you have to do – and your instructor knows when you are ready. You have to trust them.

Instructor Switch!

I wish that I knew what would come next, then I would’ve just pushed myself to do the solo anyway, even though I thought surely I would die.  The next flight we were in the circuit again, with very busy traffic, often times we were number six and there were helicopters and all sorts of traffic entering the pattern, and the radio was very busy.  Sarah was disappointed. She mentioned, since I was expecting it, that I wouldn’t go solo that day because of the heavy traffic.  That was my last flight with Sarah. Roughly a few weeks later, after a few weather cancellations, she left teaching and suggested an instructor she thought would be a good fit for me.

Read First Solo Flight – Part 2