
I’ve recently learned the basics of flying on instruments. First in the simulator and went on my first flight “under the hood” the other day. It adds a whole new dimension of complexity to flying. Just when you start feeling you have a pretty good handle on things, on comes the hood, and you’ve lost reference to the ground – and you are feeling like your world is quite small in the cockpit, with only your six pack of instruments, compass, navigation equipment and other cockpit items in front of you. No looking out your window … even if your instructor tries to tempt you, saying a 737 is passing overtop of you!
Why do private pilots need instrument time?
Transport Canada requires that private pilots receive 5 hours of instrument training, 3 of which may be in the simulator. Why do they do this? Getting a little bit of time “under the hood” can prepare you to deal with the worst should it ever happen to you. As VFR pilots with no night or instrument rating, we are not allowed to fly around in IMC (instrument meteorological conditions). But sometimes the worst can happen and we may inadvertently enter cloud or get caught up in bad weather where we loose visual reference to the ground.

How to scan the instruments for different manoeuvres.
How do you fly on instruments?
The basics are explained very well in Transport Canada’s Flight Training Manual. In the airplane, we use a cover known as the “hood” and instrument flight is simulated with your instructor keeping an eye on the outside in VFR conditions. The main part has to do with understanding your control instruments and your performance instruments.
Attitude + Power = Performance
Your control instruments are Attitude Indicator (AI) and your tachometer (or Manifold Pressure Gauge). The combination of these two instruments will give us performance, measured by the performance instruments, shown in the Airspeeed Indicator (ASI), Turn and Bank Coordinator (TC), Heading Indicator, Altimeter and Vertical Speed Indicator (VSI).
The basic formula of attitude + power = performance stems from the relationship that any combination of different aircraft attitudes, coupled with a power setting will cause you to increase, maintain or reduce airspeed, altitude, turn and bank, heading and vertical speed. These five instruments can be referenced as indicators, or outcomes of changes in power or attitude. Some instruments are better than others to show these changes, and is known as the “scan”, which allows you to identify which instruments you should reference for what.
The attitude indicator is the heart of our scan. Because we have no outside reference to the horizon, it will tell us when we are flying straight and level and when we are banked, and reference it when we expect to be in a climb or descent.
To illustrate, recall that a nose down attitude coupled with a low power setting will cause a descent, (loss of altitude), a nose high and high power setting will create a climb, (gain in altitude).
To develop the procedures to refer to the proper instruments at the right time, always ask yourself the questions:
- What information do I need?
- Which instruments give me my needed information?
- Is this information reliable?
Doing an instrument scan is how you use the technique. There are a number of different scans depending on the information you need. For example:
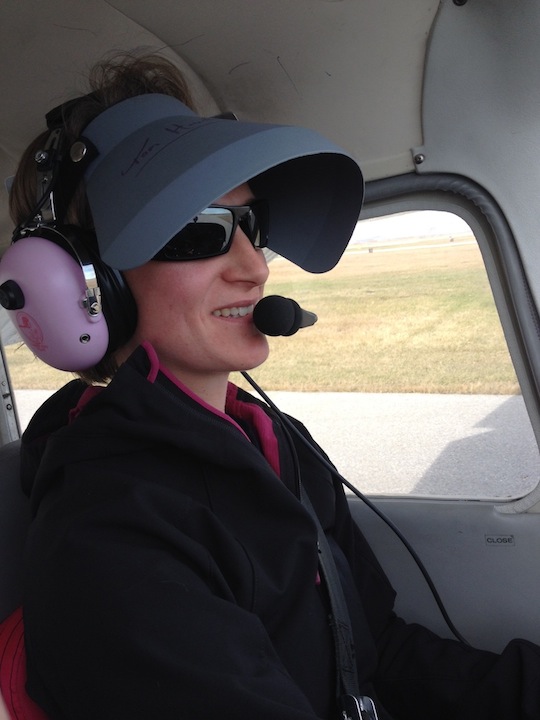
Under the hood. Just completed a simulated ILS approach for runway 35.
2. Straight Climb: mainly attitude indicator, heading indicator and airspeed indicator
3. Approaching desired altitude: mainly attitude indicator, altimeter and heading indicator
4. Level, approaching desired airspeed: mainly attitude indicator, altimeter, heading indicator and airspeed indicator
What if our vacuum system fails? We will loose the vacuum-system (engine powered) instruments: the heading indicator and the attitude indicator. Since the attitude indicator is a very important instrument for us, we have to be very careful and apply the partial panel technique. Stay tuned for this in our next post.
Simulating an ILS Approach
When I went under the hood for the first time, my instructor asked me if I wanted to simulate an ILS approach for runway 35. He helped me out and I flew the approach, simulating an approach in IFR conditions. When he asked me to remove the hood, I was 200 AGL and the runway was just slightly to the right, about 1/4 nautical mile in front of us. I got us back on to centreline and did a nice, gentle landing. The ILS flying make me hyper aware and very sharp. It was a lot of fun!


Hi Flight Maneuvers, thanks for sharing such nice information! Not only old aircraft but even technologically advanced aircraft have traditional instruments to use as back-ups in case the primary system fails.